
This blog post highlights several features that can be utilised without coding in MYOB Advanced.
These features are:
- Enable/Disable a field
- Make a field mandatory
- Make a field Visible/Invisible
- Change the Display Name of the field
- Add Conditions
- Auto-Run Actions
Enable/Disable a Field in MYOB Advanced
Previously, to enable/disable the field, code was written in RowSelected event or using the PXUIEnabled attribute. However, by using the Screen Configuration setting we can enable/disable the field in the Screens section of the Customisation Project Editor.
In this example, we will disable the Customer Order Number field on a Sales Order.
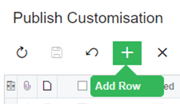
- Navigate to the Customisation Projects (Customisation>Profiles>Publish Customisation) and create a new Customisation.
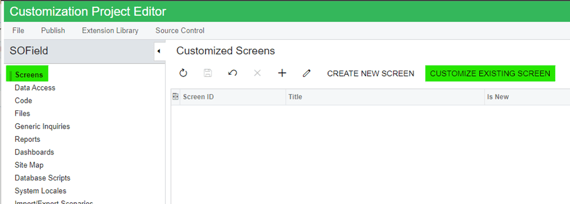
- Open the Customisation Project and select Screens in the menu on the left-hand side.
- Use the Customize Existing Screen to create and add the Sales Orders
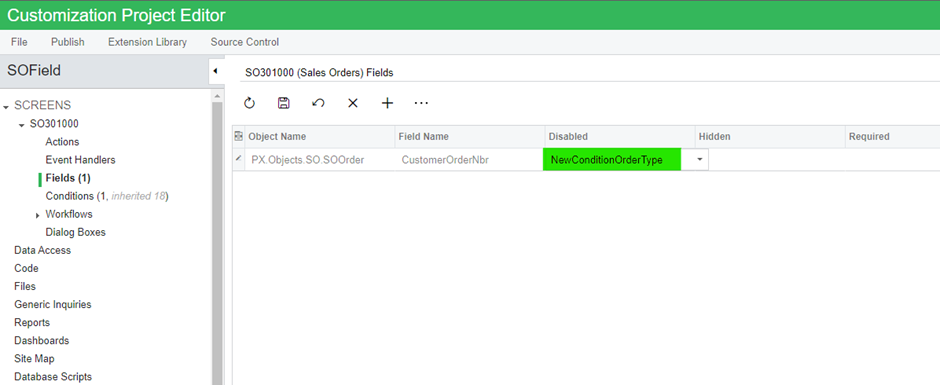
- Expand the SO301000 and click Fields. Click on Add a field (+)

- Select the field to Enable/Disable (For example, Customer Order Number)
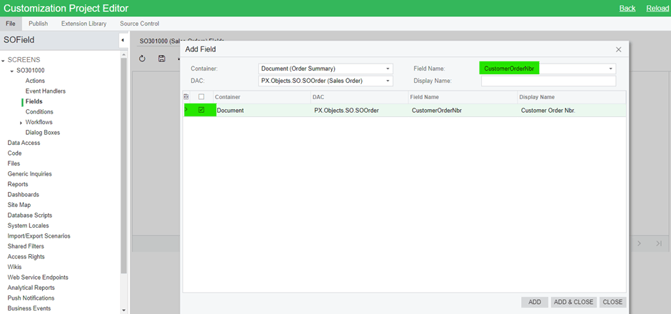
- Add the value for the Enabled/Disabled column in the respective field.
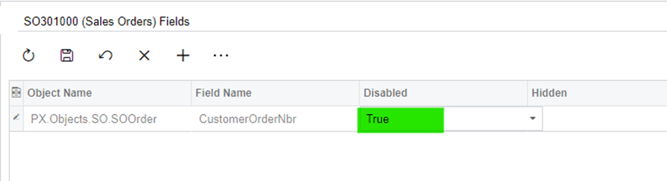
- Publish the Customisation Package to save the changes.

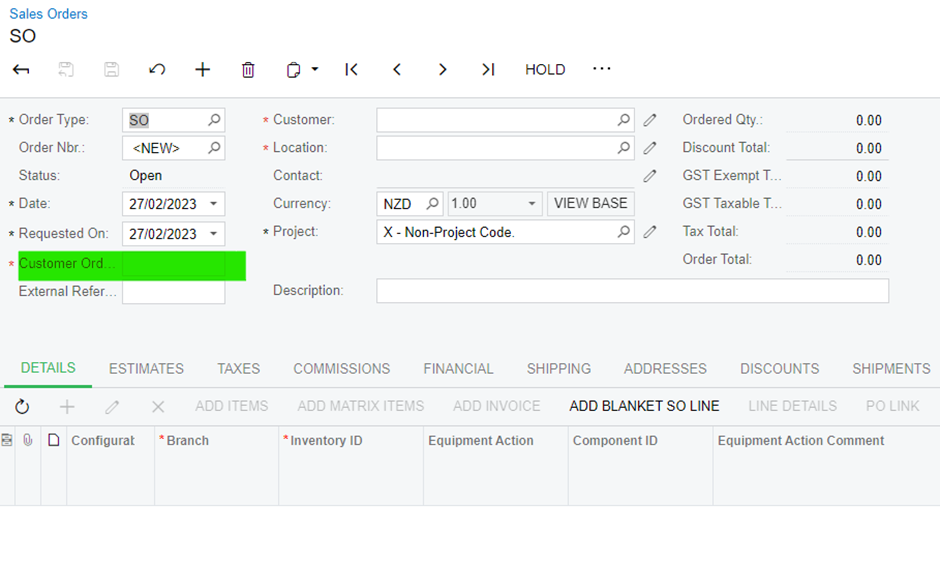
Make A Field Mandatory
Previously, we used the PXDefault attribute to make a field mandatory. But in the Customization Project Editor, we can use the settings to make the field mandatory.
In this example, we will make the Customer Order Number field mandatory on a Sales Order.
Follow steps 1-5 above if you do not already have a customisation published.
- From the Customization Project Editor, select Fields in the left-hand menu.
2. Set the Required section to True.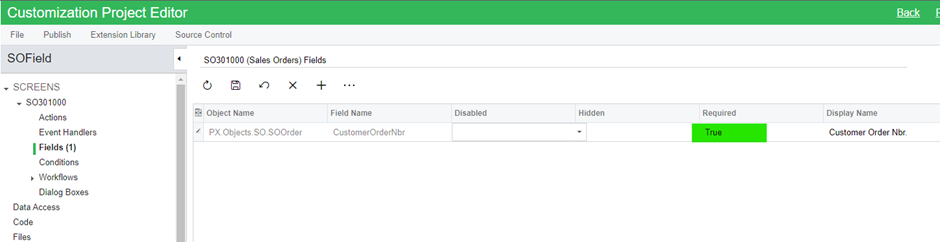
3. Publish the Customization Package to save the change.
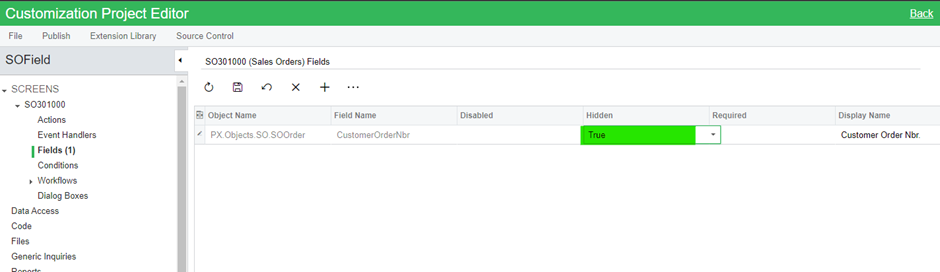
Make a Field Visible or Invisible
Using the same steps to Enable or Disable a field, we can make a field Visible or Invisible. This skips the need to write code in the RowSelected event at the graph and the PXUIVisible attribute at DAC level.
Change Display Name
In older versions, to change the Display Name we were writing the Cache_Attached event but using these settings we can easily modify/change the Display Name for the field.

Add Conditions
Adding Conditions is useful when performing Enable/Disable, Visible/Invisible, and Mandatory fields. In the Customization Project Editor, we can add new conditions or append conditions to the default MYOB Advanced-provided conditions.
To add conditions:
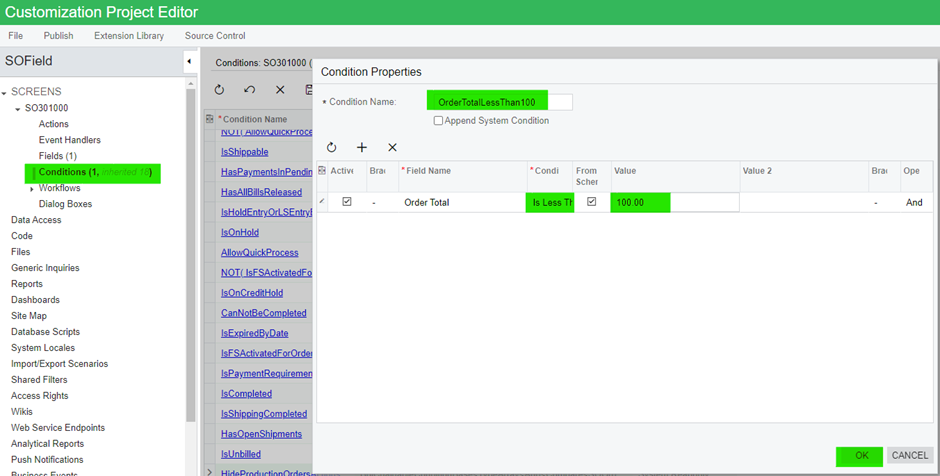
- Select Conditions from the menu on the left-hand side.
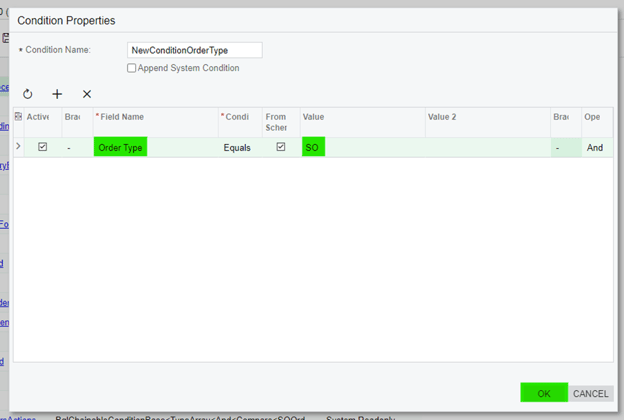
- The Condition Properties screen displays.
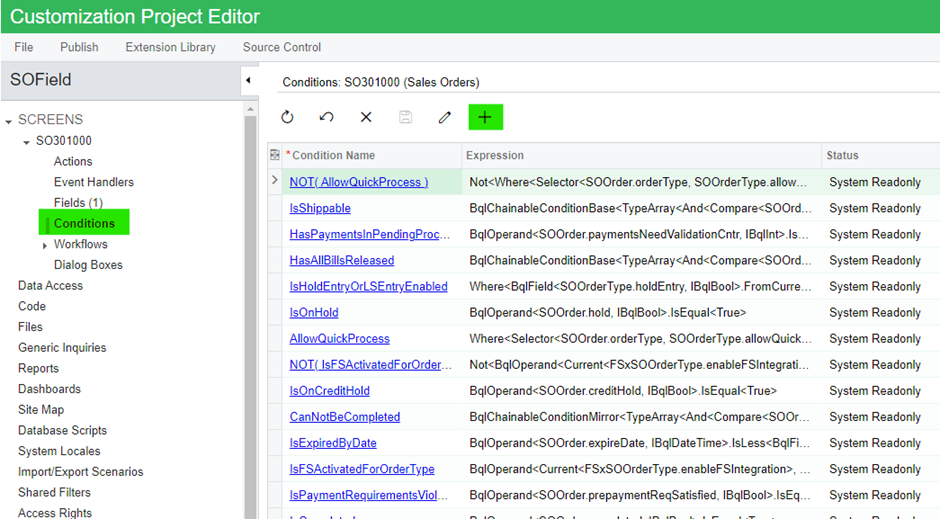
- Enter a Condition Name and complete the required fields. In this example, we are adding a condition to Order Type that Equals a specific value.
- Select Fields from the menu.
- Publish the Customisation Package to save the changes.
Auto-Run Actions
The Auto-Run Action feature allows us to automatically invoke another action when a condition is completed.
For example, you want to put the Order On-Hold when the Sales Order Total is less than $100.00.
In this scenario, we can use the Auto-Run action feature that will check the Order Total based on the condition and create the Put On-Hold button automatically.
To use Auto-Run to create the Put On-Hold button:
- Add a new condition to the Conditions
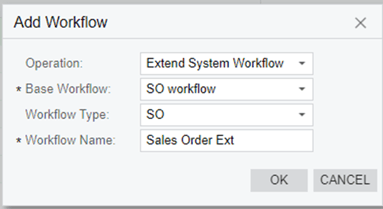
- Open the Workflows, Add Workflow
- Open Sales Order Ext Workflow and select the Open status workflow
- Next, go to the Actions
- Select the condition in the Auto-Run action
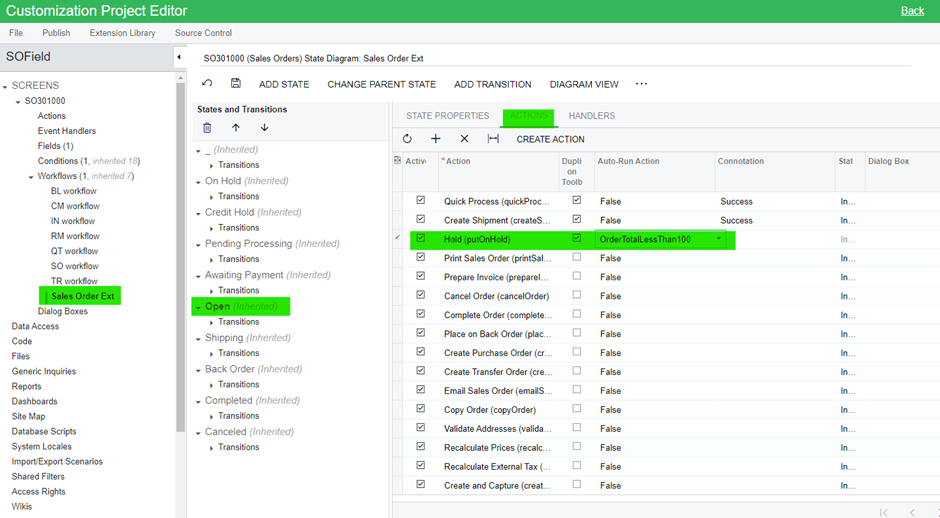
- Publish the package to save your changes.

MYOB Advanced offers various low-code functionalities that allow you to accomplish tasks without custom coding. By following the tips we have compiled, you can learn how to create and modify MYOB Advanced fields within the application, avoiding the need to write code.
With this knowledge, you can optimise your use of MYOB Advanced and potentially discover other low-code areas that can help you save valuable time.